

Home Tour To The Finished Lancer Project
150 Lancer Ave Oceanside, CA 92058
Single Family Home - 3 Bed - 2 Bath - 1,250 sq. ft. approx.
Listed at $725,000

150 Lancer Ave. Oceanside CA

Before and After
It started with a confusing layout. Although it was an open floor plan the fireplace was smack in the middle of the living space.
Typically you look to make a focal point of the living area, like a TV, fireplace, or maybe the house has a nice view out the window. So to try and add an additional focal point we incorporated this custom built cabinet to help delineate the space.

Custom built ins.

Working with the space we had:
-Buyers a place to showcase their belongings and
-somewhere to put their TV.

Originally I wanted to put in false beams across the ceiling but since we are on a budget, we opted to focus building out some of these things instead.


The Fireplace
Originally we just planned to white wash/ over grout the original brick. But, while the cabinet started to take center stage, the fireplace all about disappeared sooooo, we had a custom mantle built out and had it painted the same color as trim and cabinet.
The budget was not happy. But worth it.


The kitchen had its only set of obstacles. There wasn’t really a whole lot to anchor it, the fridge in the original layout didn’t really have a home, the stove was off center and it felt over all really crowded and dark.

We took the hall closet that opened into the entrance way and gave it to the kitchen, this aloud a great little corner to put the fridge into.
We also took out a couple feet of the wall at the end to create a clear walking path to the kitchen or the back yard.
Centered the stove the best we could with what the current floor plan would allow. I also didn’t want to put any uppers back in along the window side to try and keep it feeling more “open.”
In addition we had the rotting out covered porch in the backyard removed, it was preventing all the natural light from coming in through the slider doors. We replaced it with a Pergola however the beginning of it starts after the sliding glass door now.


Another last minute change resulted with us buying three different kitchen sinks …
#1 - A white apron sink, however after finding out it would not fit in the cabinet base without us severely hacking it up we made a last minute change to do an undermount.
#2 - I picked out a white granite composite undermount and had it rushed delivered next day for photos. It arrived at 8pm the next day ….in grey.
#3 - The morning of photos, my GC picked up a stainless steel backup sink. . . we didn’t use it.
After frustrating the crap out of my GC I asked him to quickly get the grey one in. I think it ended up being a good accident.

The Kitchen Design Plan
Two tone kitchen cabinets. Top Knobs hardware from @sandiegohardware and a custom hood vent.

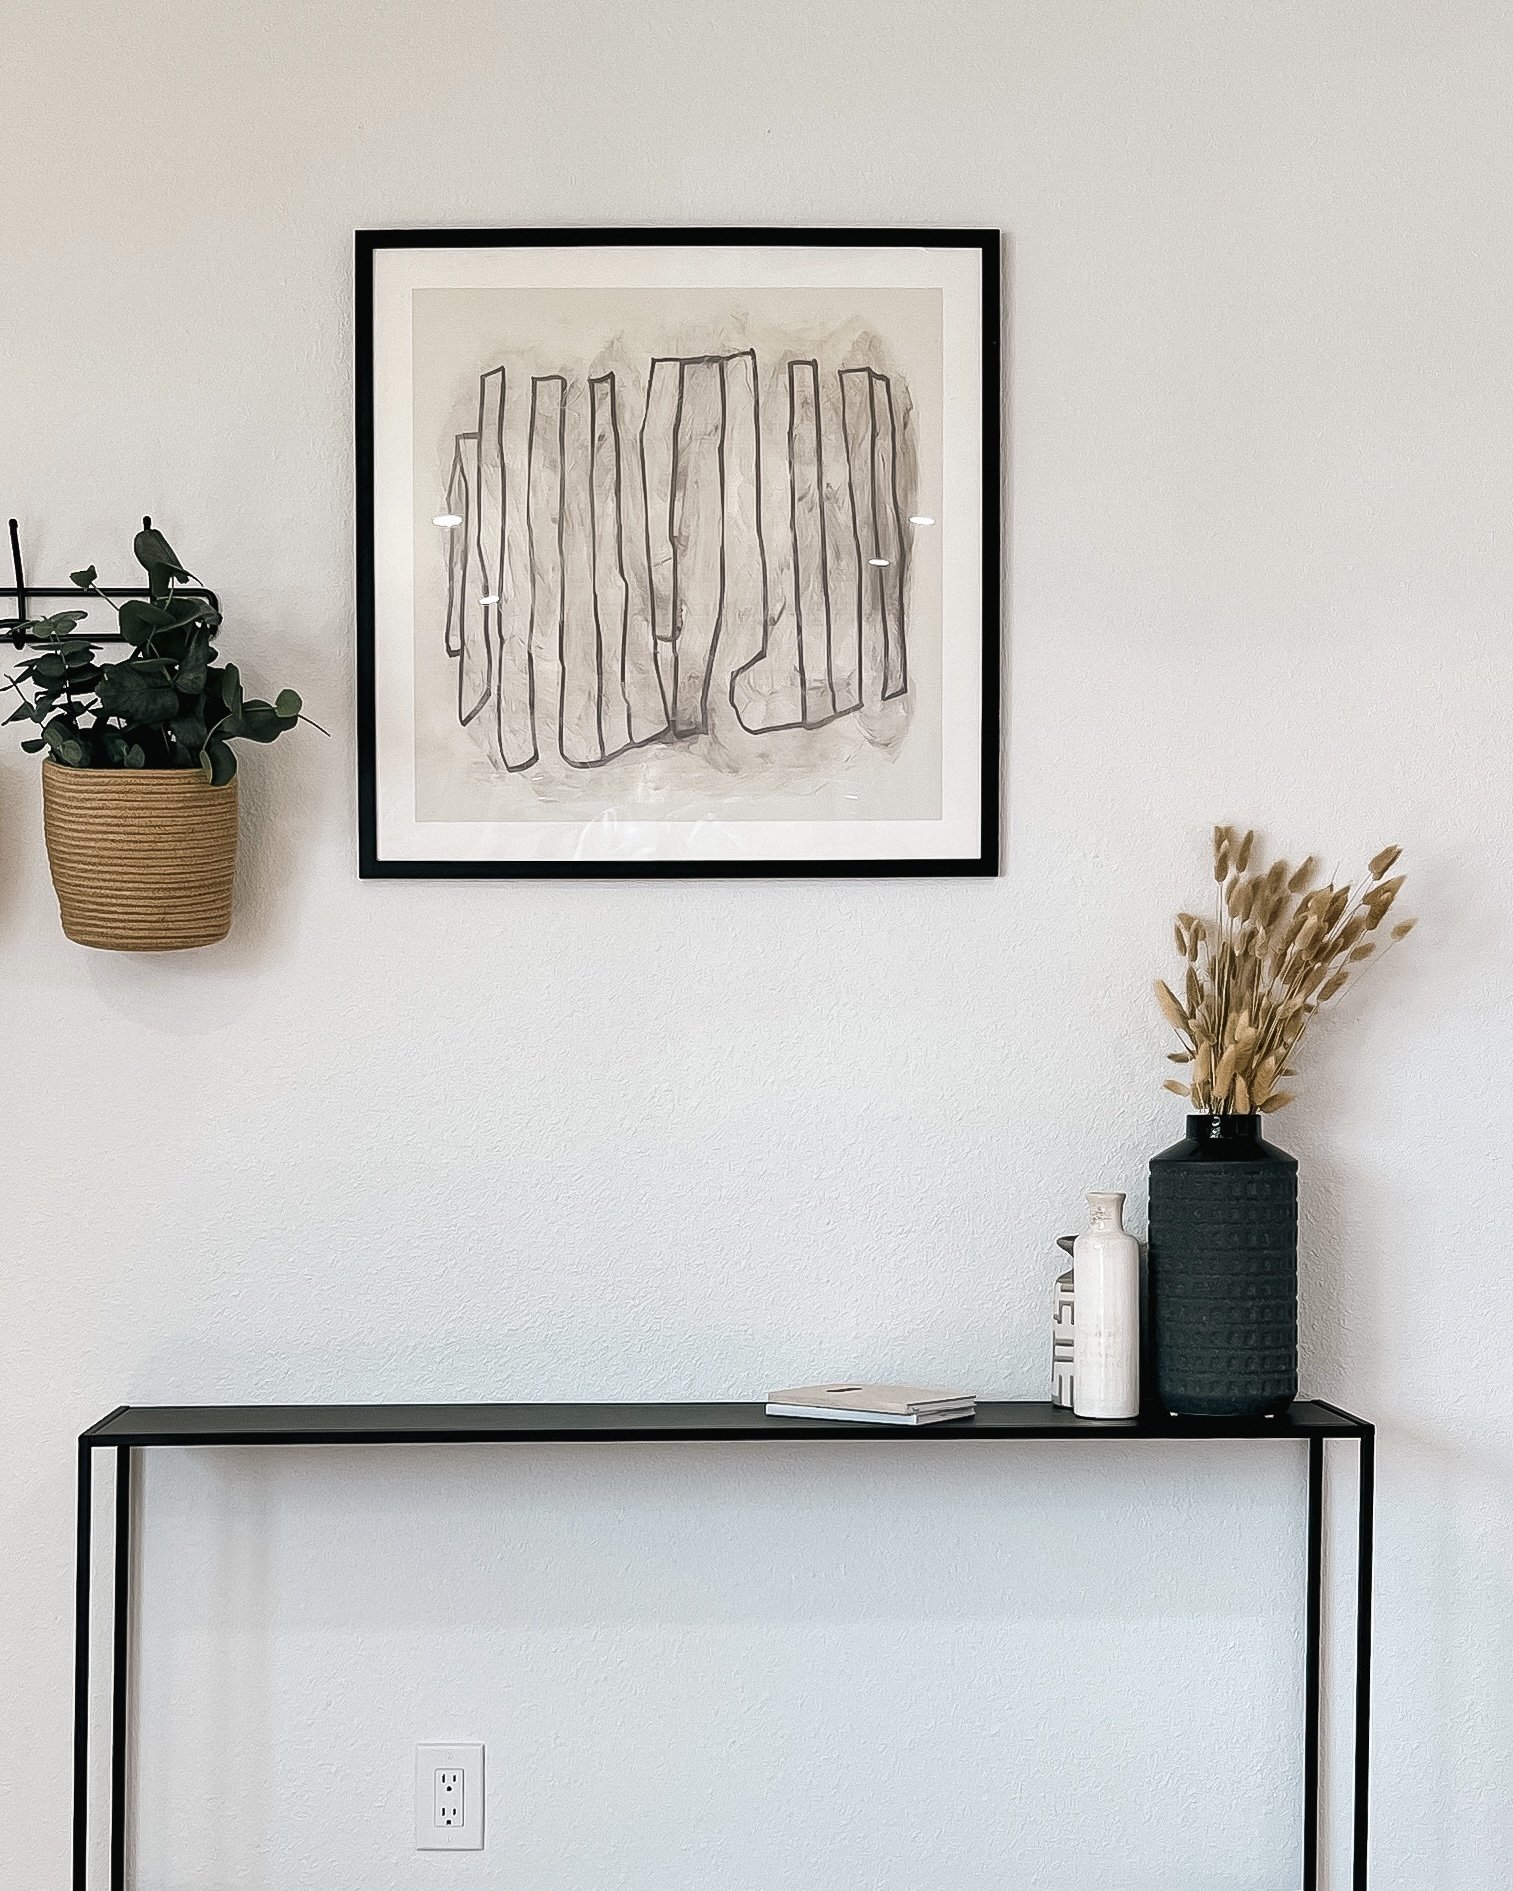
Entryway Vibes


