

How to Make an Easy Gallery Wall
Gallery wall layouts, picture frames, and inspiration.
Some of these posts contains affiliate links, in which I may be compensated if you make a purchase after clicking on my links.
I spent way more time than I would like to admit on finding, framing, and hanging the art at my place. So, in hopes of making it easier for others looking to redesign or freshen up their space I outlined some gallery wall tips, and inspiration that helped me. I also included some great places to find your own affordable art and picture frames for you to create your own perfect space!
Perfectionist Probs
I spent way more time than I would like to admit on finding, framing, and hanging the art at my place.

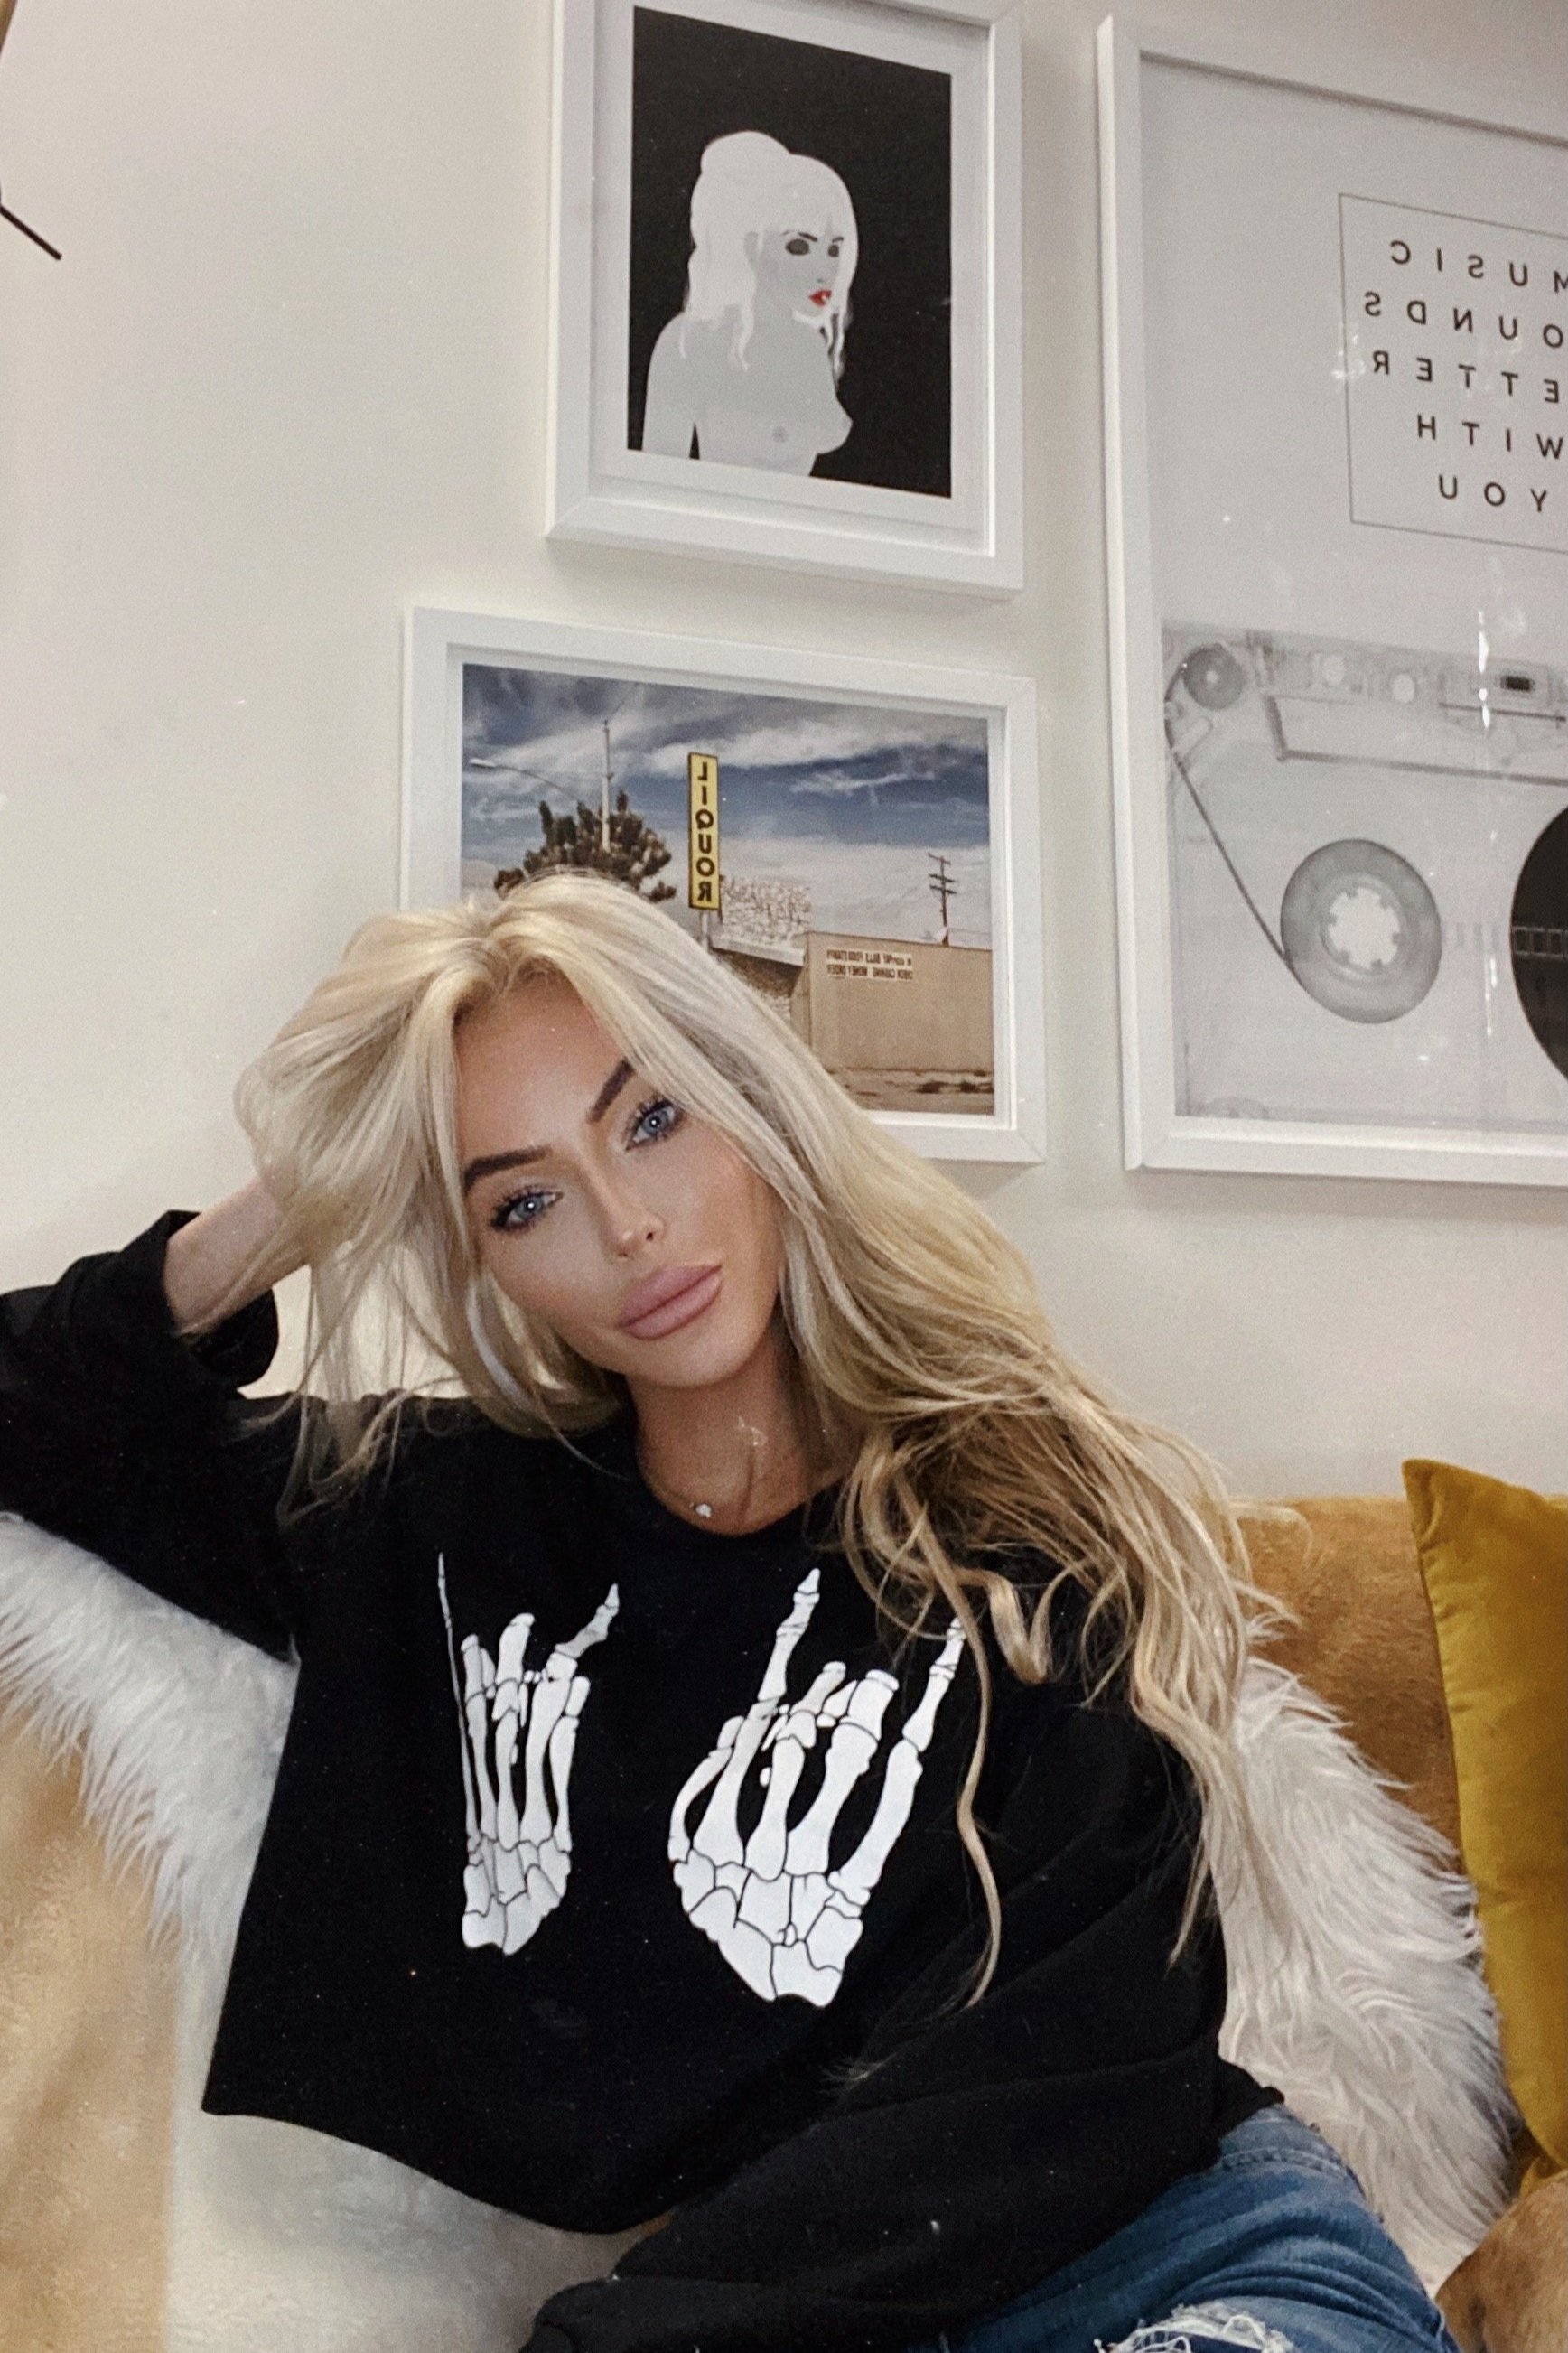
Picture Sizes - (Left) 18" x 24" (45 x 60cm) - (Middle) 24" x 32" (60 x 80cm) - (Top Right) 11" x 14" (30 x 40cm) - (Bottom Right) 12" x 16" (30 x 40cm) - All Framed in White

I’m art obsessed
I have a bunch of tubes with rolled up art I’ve collected over the years so I can switch it out whenever I get bored.
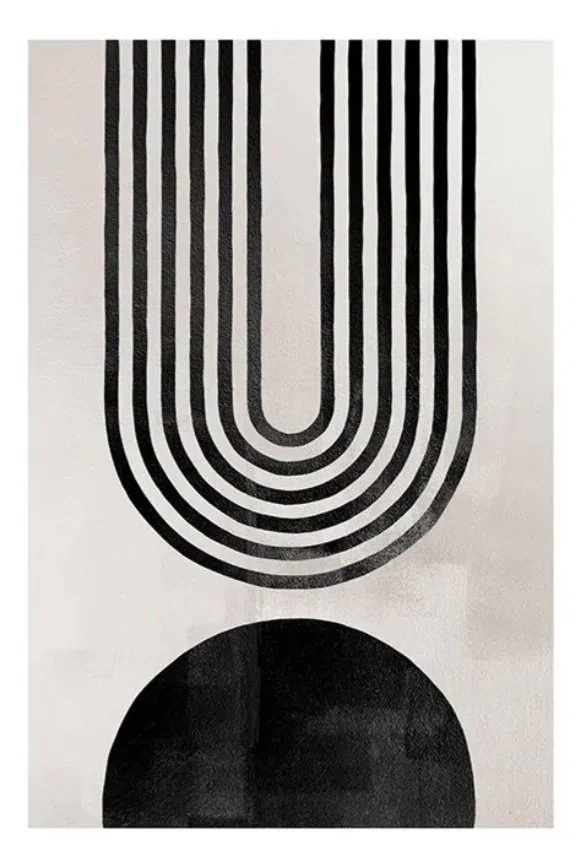
Start by collecting all your favorite art! Try to mix up your pictures to include horizontal and vertical pieces.

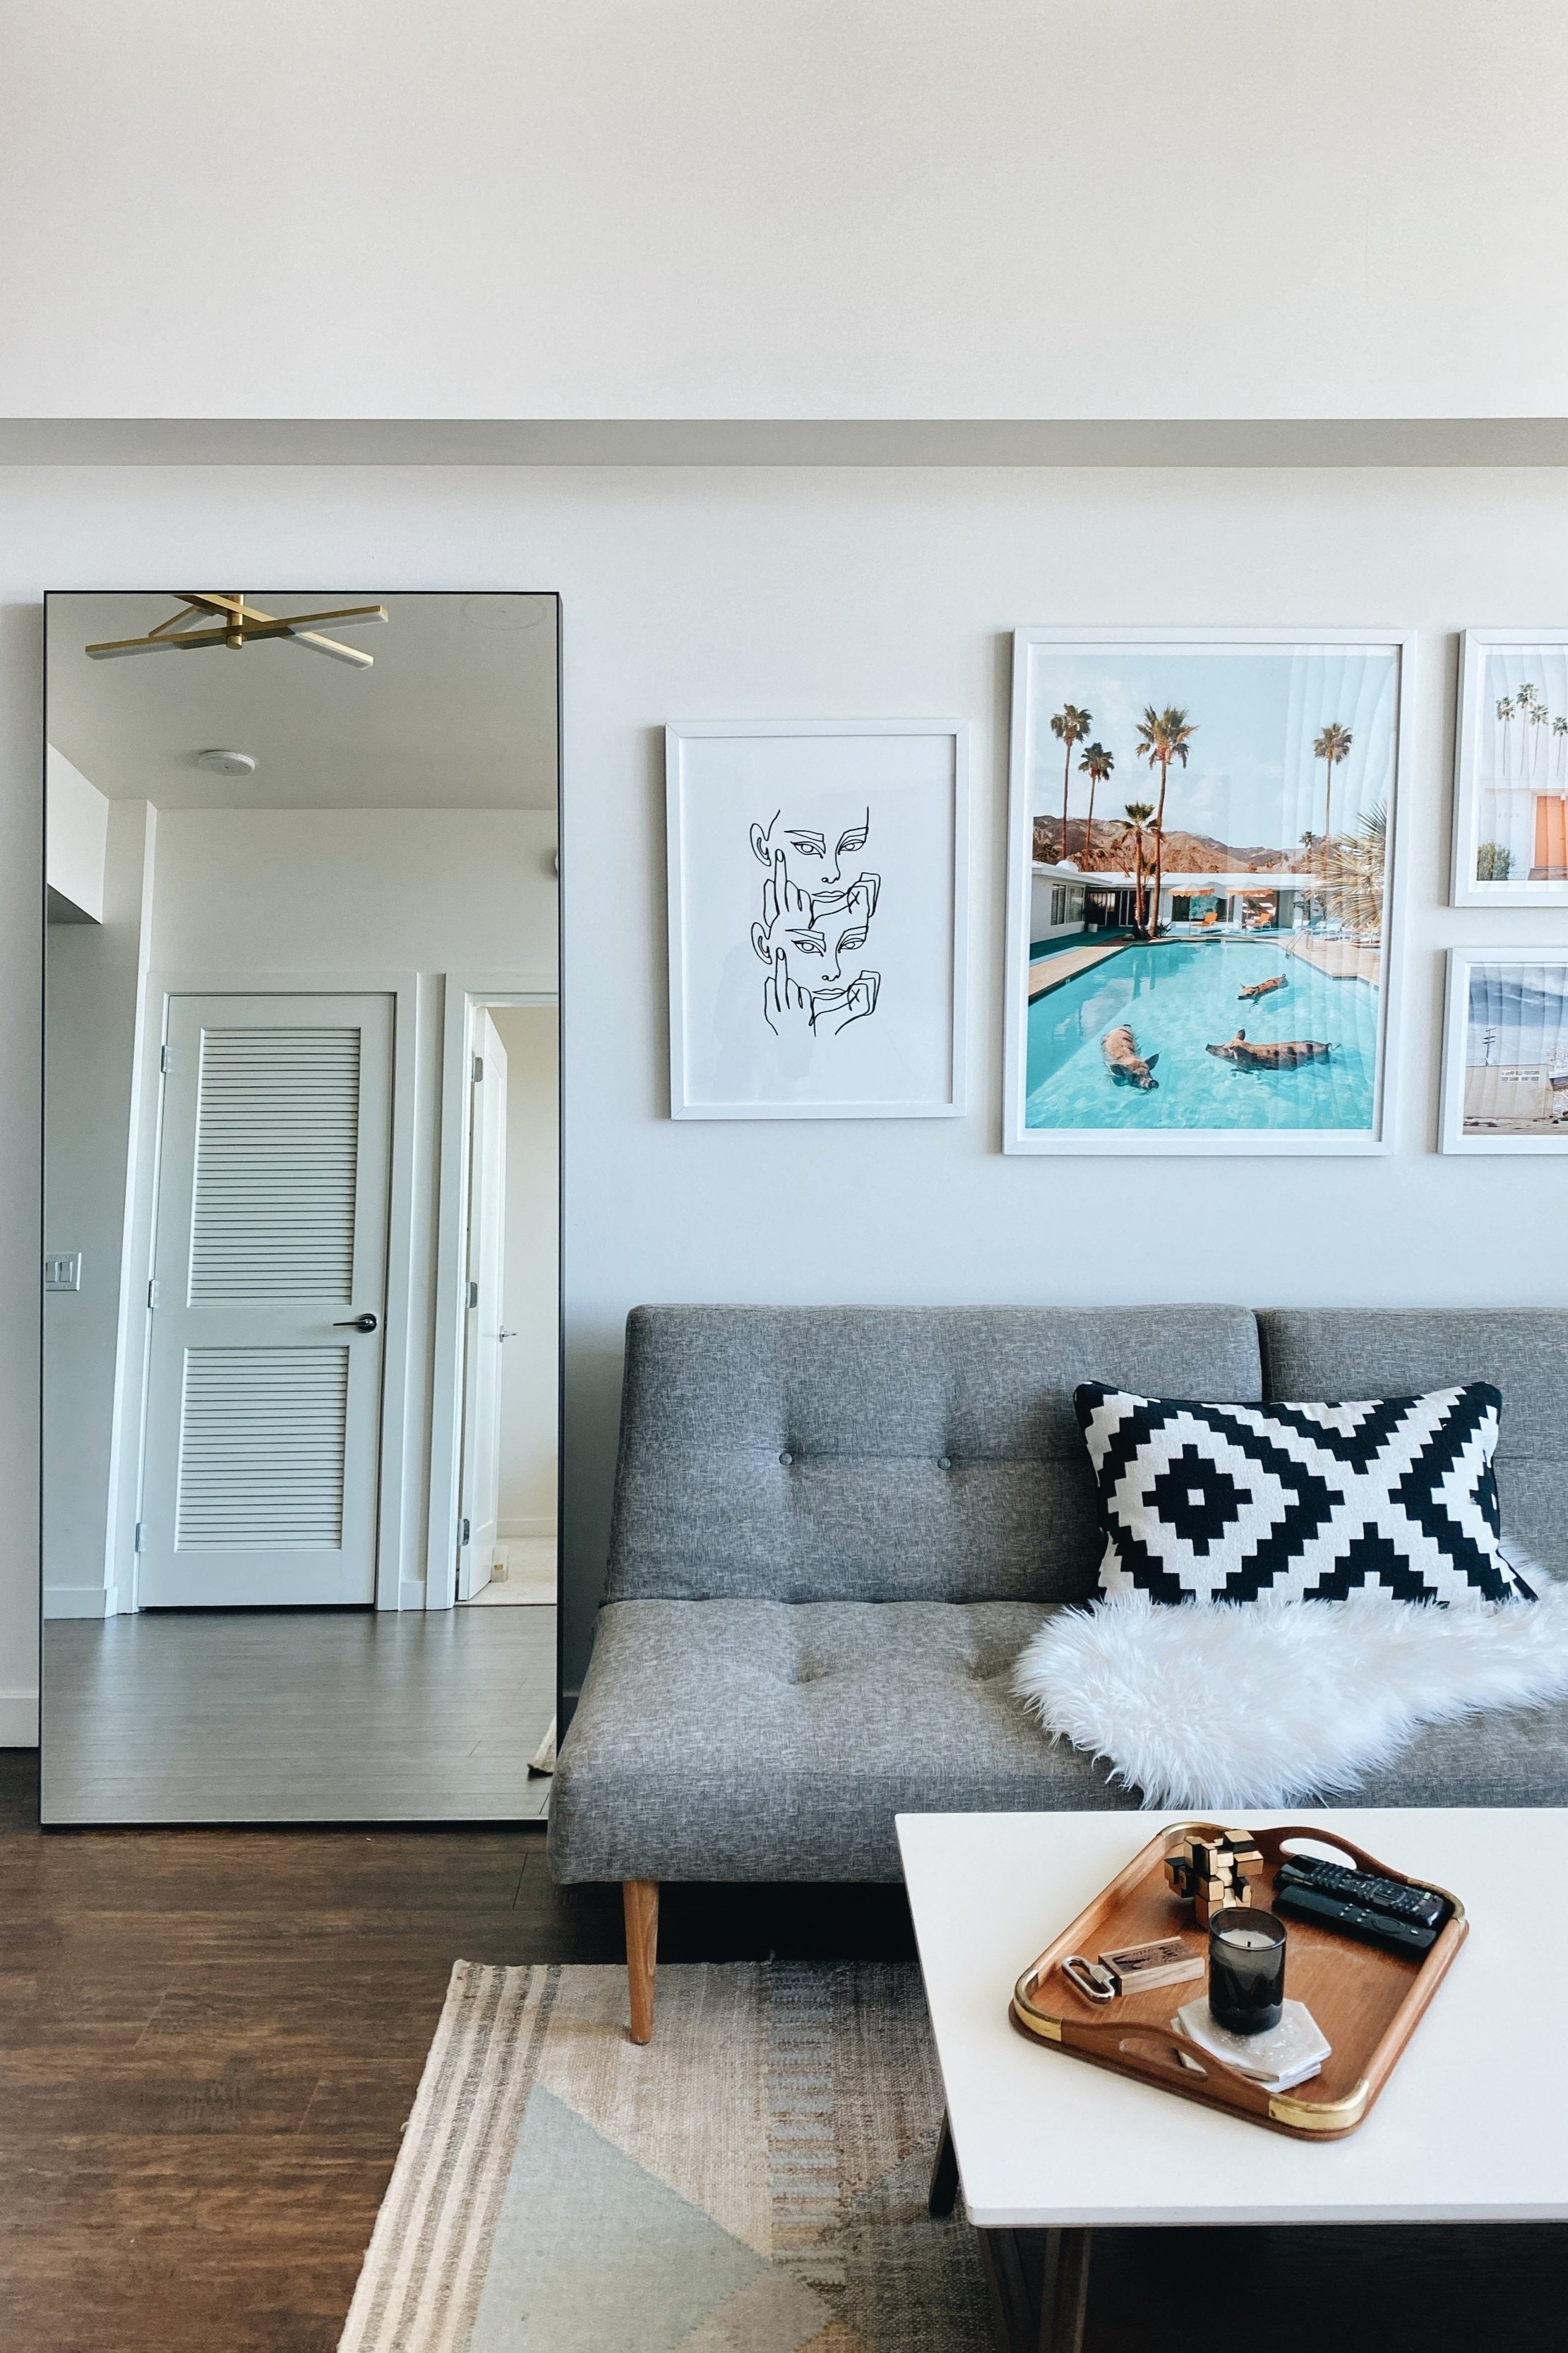
Art and Frames From I Am Fy - Area Rug and Lamp World Market - Mirror CB2 - Couch West Elm

Art from @desenio Light from Schoolhouse

Art and Pendant Light from World Market


Measure out the area for your gallery wall.
Once you collected all your art pick out the ones that have a theme, or follow a color pallet. You can also use the same picture frames to make it more cohesive.
Create a mock-up. Try laying out all your artwork on the floor so you can play around with the placement before committing to it on your wall.
Start with your largest piece of artwork by placing it just off center or starting in a corner of the wall space your measured previously and work out from there.
Indecisive
In my first gallery wall, I had a bright desert kind of vibe. I later switched it up and went with a monochrome look.

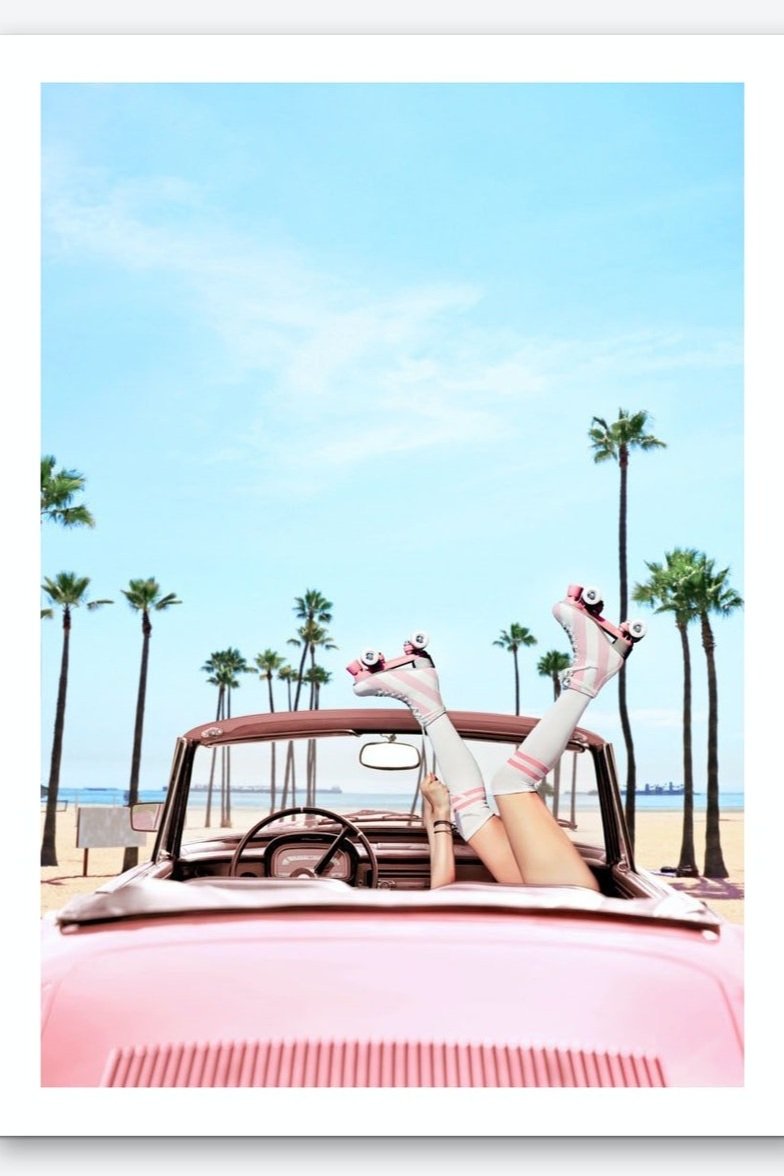
For a more of an eclectic look mix up your frame styles.

Source @vivandtim.home

Source vivandtimhome.com

Wall Spacing
Try and keep the space between all your pieces around 3 - 6 inches apart. That way things don't get crowded.


Eye-catching
Hang your focal point at eye level (this is usually your largest piece of art)

Source @gemellisx


Source @palm_and_wild

When hanging your pieces you can:
Go rogue and eye ball it OR
Bust out a pencil and level if your ocd like me. A magic eraser is great after removing the marks :)

Source @etsy
I initially hung my art in the living room with command strips. While that lasted for a few months eventually the heat and weight of the art caused the larger pieces to come crashing down so I ended up using nails too.


Source @thegatewayhome
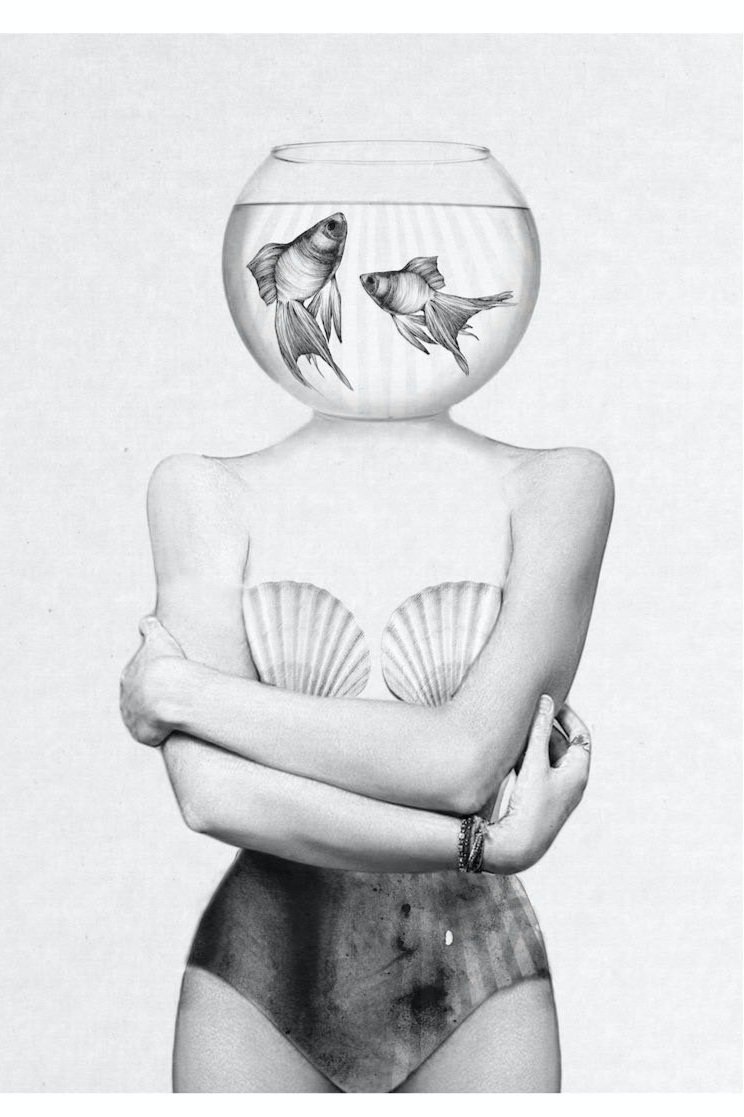
Utilize matte frames. They are great for making your art look more modern and can help with keeping it cohesive if the photo is a little different from the rest.
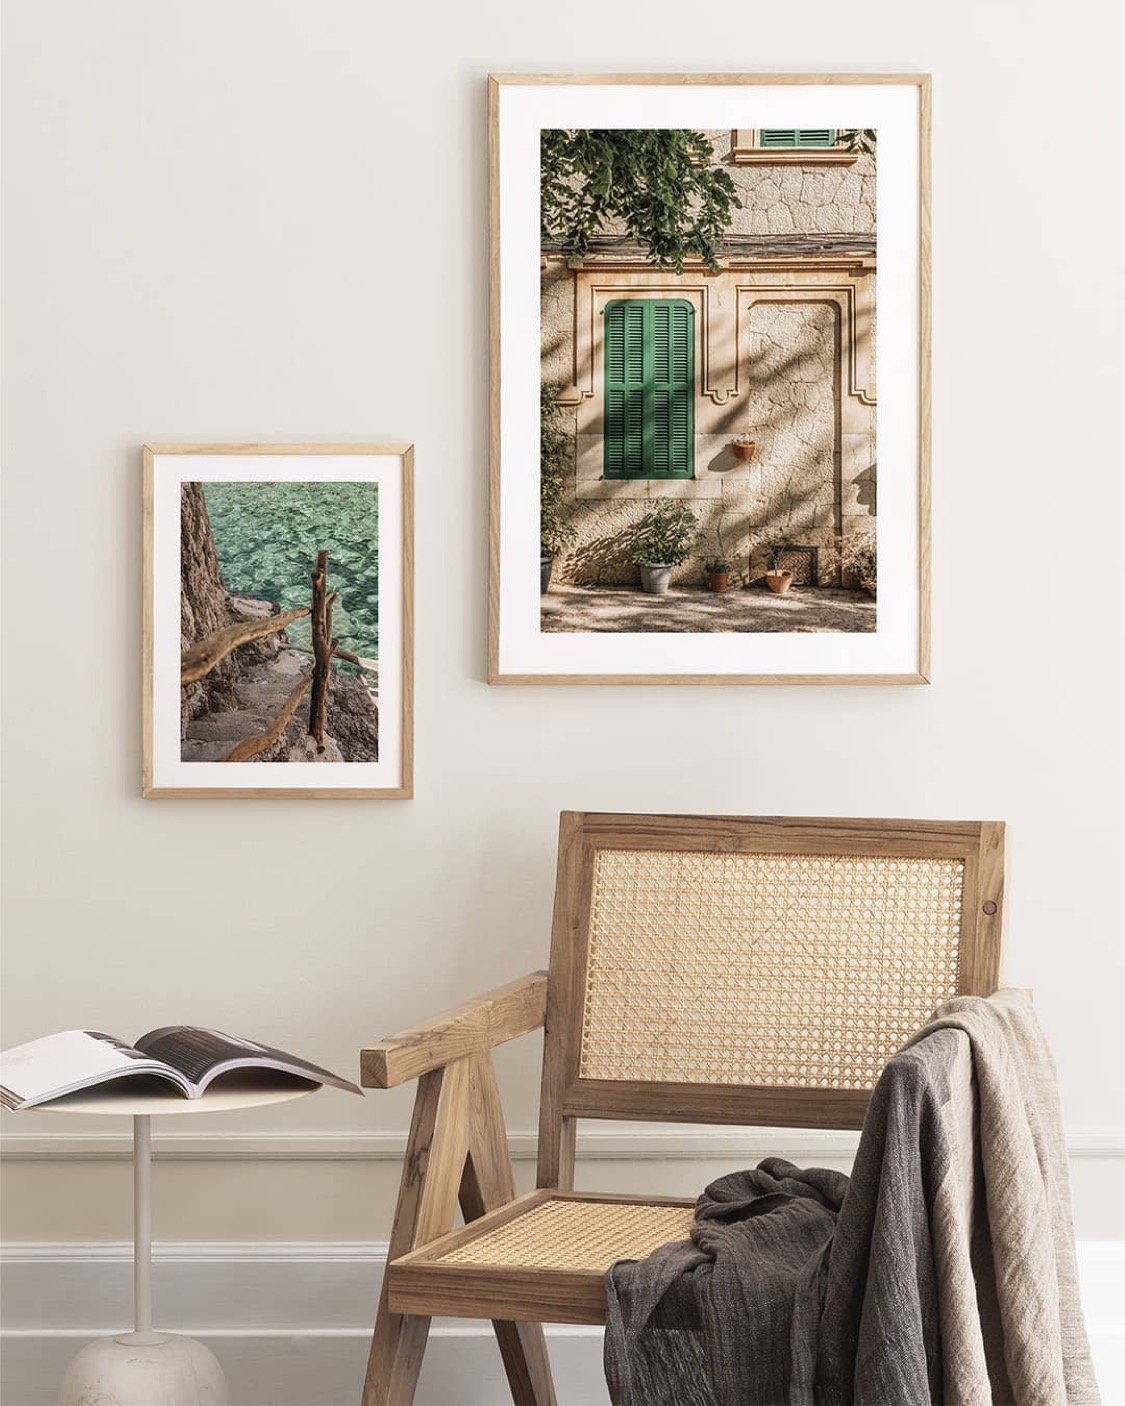
Credit: @desenio - ‘Taking A Dip’ 30x40 cm. | ‘Green Window’ 50x70 cm. | Both prints are paired with our oak picture frames.

Credit: @desenio - Designs ‘Autumn Allium’ 50x70 cm. | ‘Feel Beautiful’ 30x40 cm. | ‘Sunset Beach Dune’ 50x70 cm. | ‘Towards the Sea’ 30x40 cm. | ‘Overblown Flowers’ 30x40 cm.

Follow Along @sarah.dett