

DIY GROCERY STORE FLOWER ARRANGEMENT
Make a statement with your own flower arrangement for under $20
An easy DIY flower arrangement with some tips and tricks for how to create a pretty arrangement using grocery store flowers. You don’t have to spend a ton of money to get that expensive look 😉


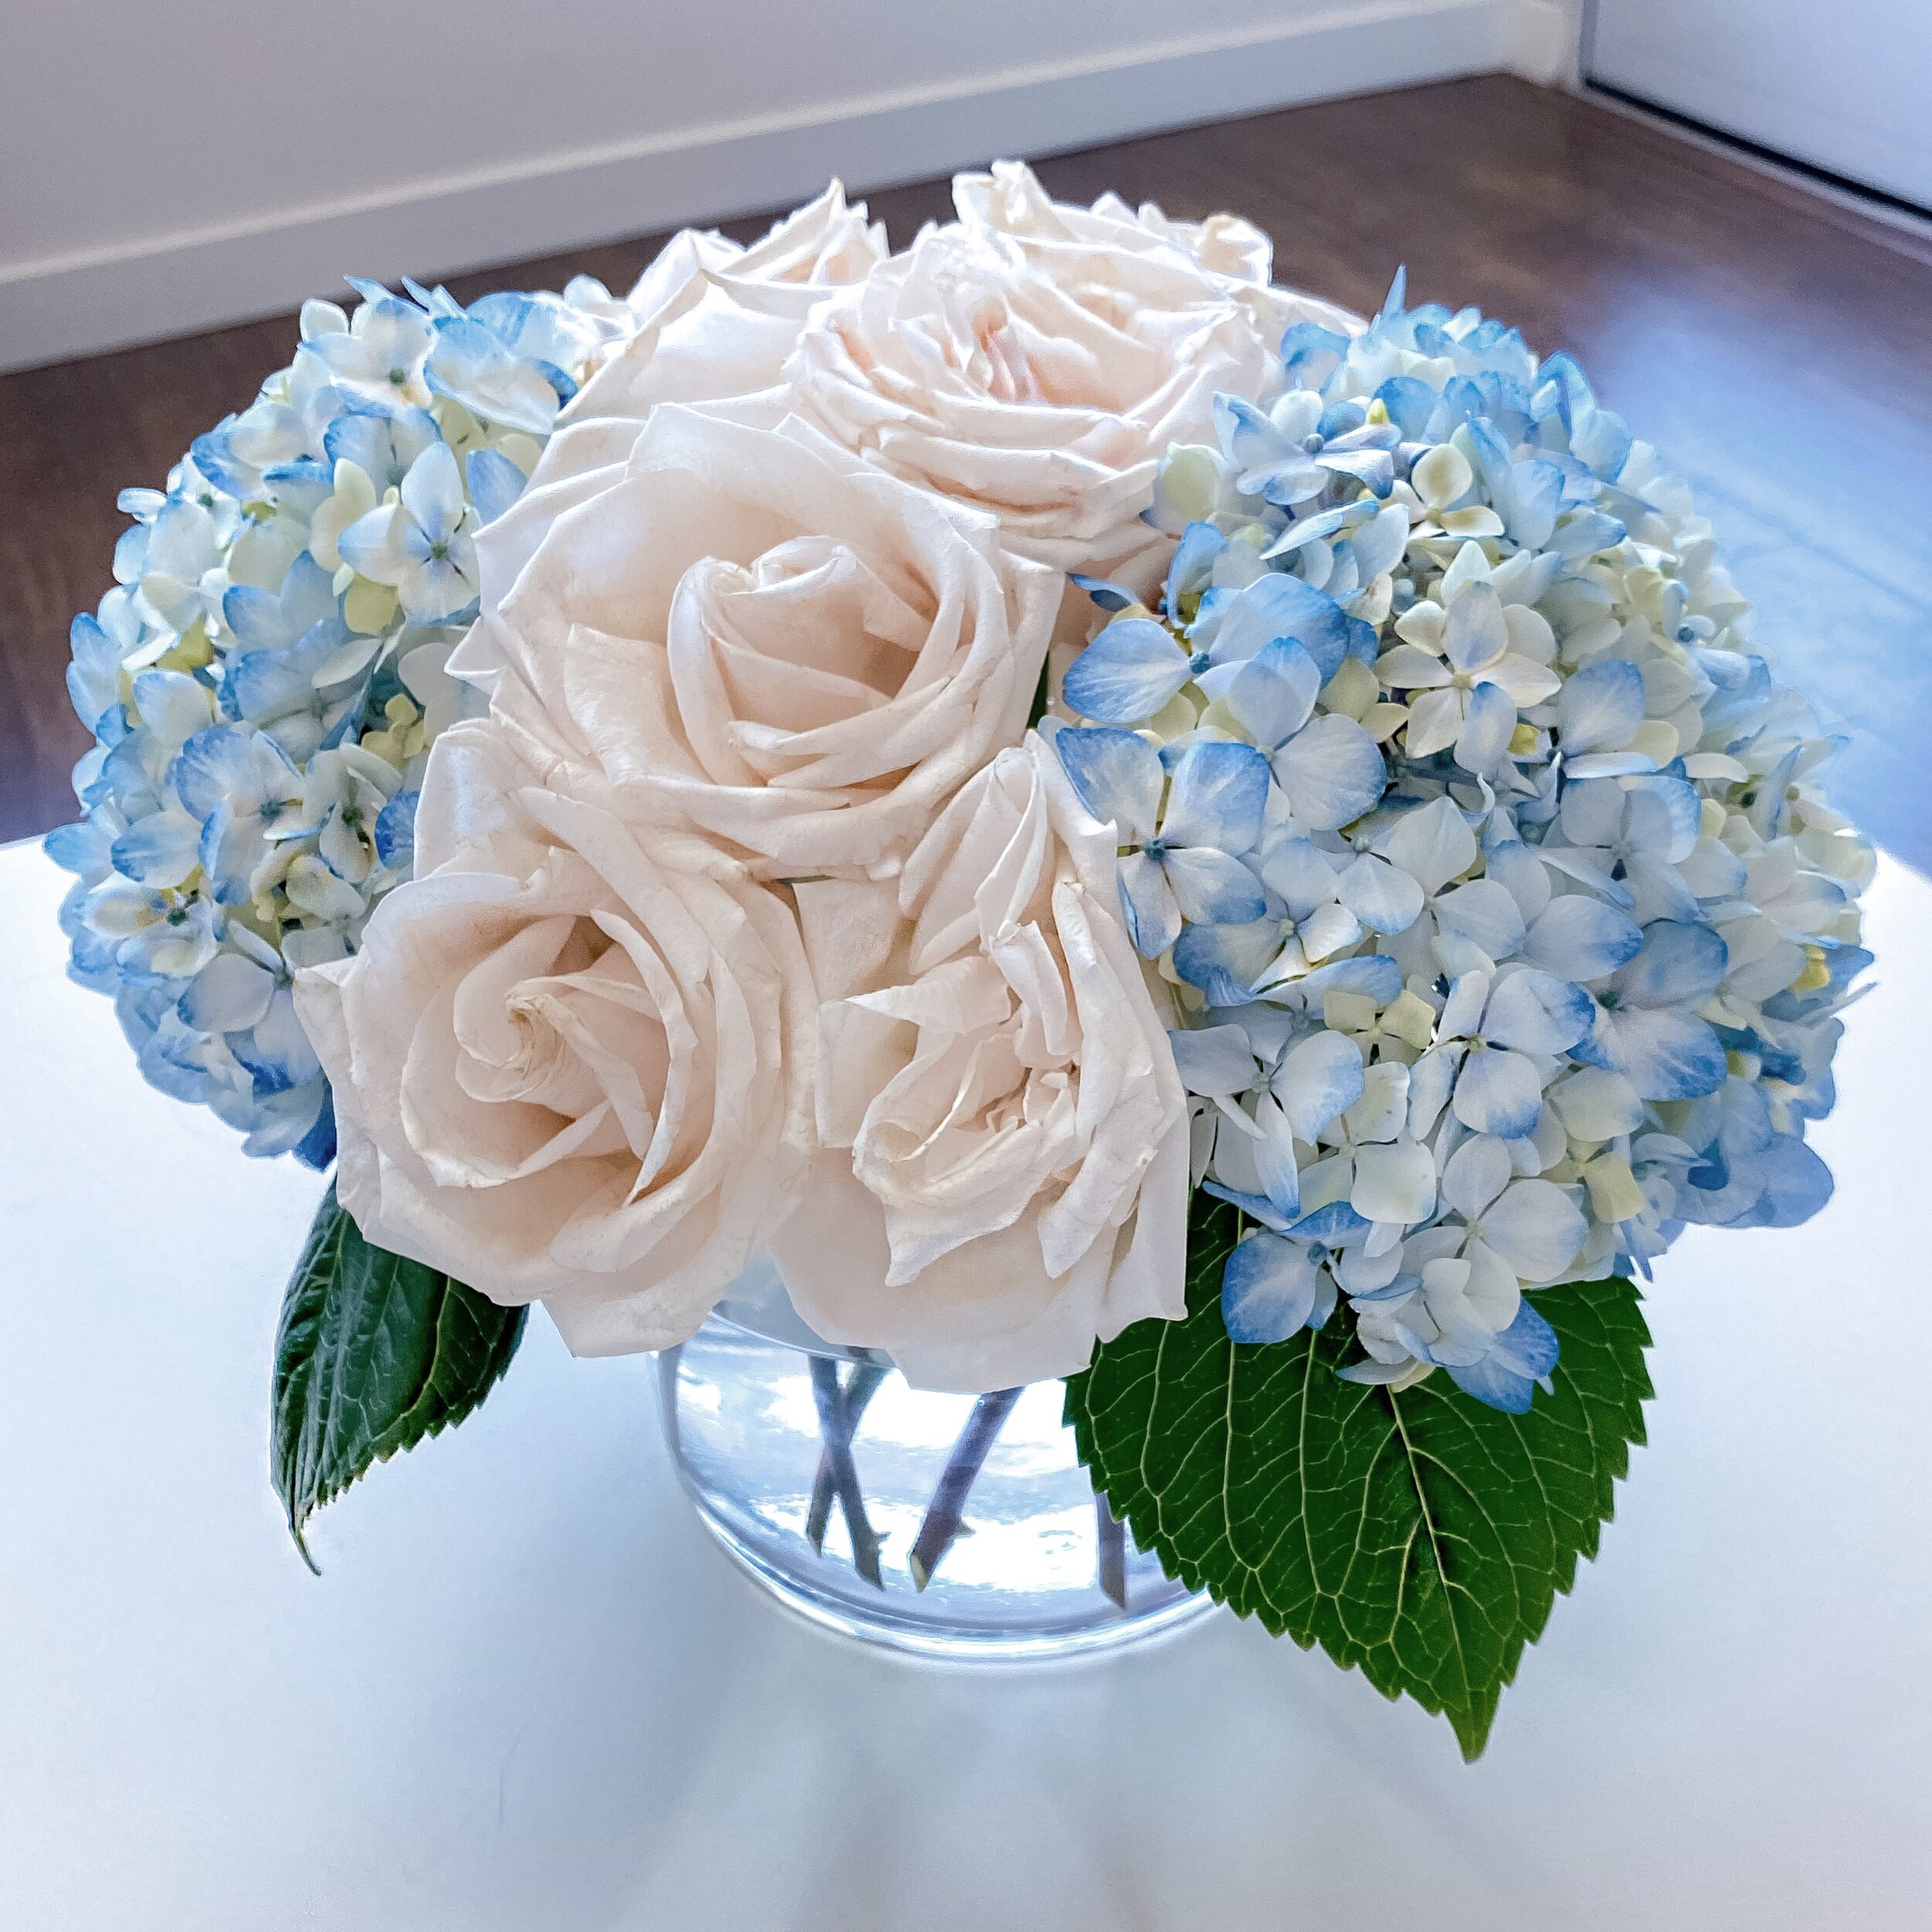
You can use pretty much any kind of flowers you like. I love how these roses look modern and clean after we were done with them!
WATCH THE VIDEO HERE
Tips When Picking Out Your Flowers
Try to get at least two different bunches. This could be one flower and some filler or two different kinds of flowers.
Pick two different colors or stick within the same color in various shades.
The Setup

You will need some flowers ! Obvi ;)
Scissors
Tape
Water
Vase
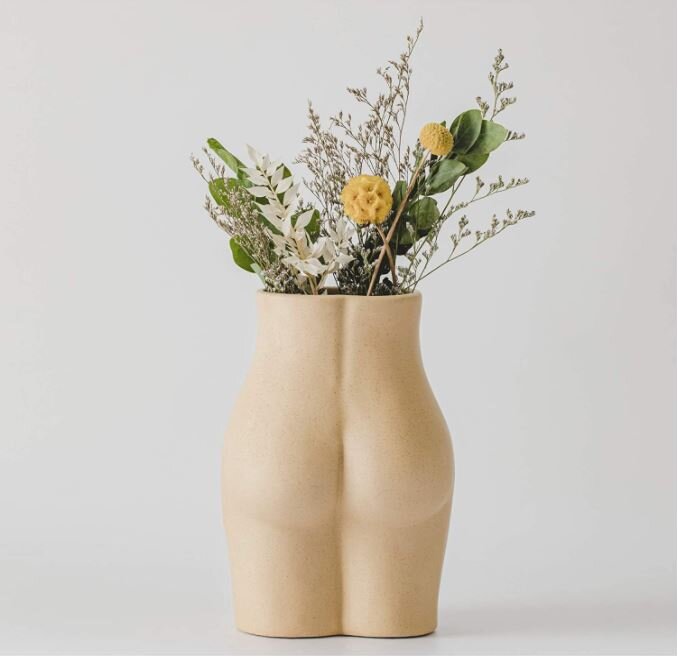
Vases are more of a personal preference. I prefer lower shallow ones. Click Here for a similar one I used.

My flowers were looking kind of sad because I just let them sit in a bucket of water for a day. But we’ll fix that.


Prepping the Flowers
Start by removing all the green leaves at least 2/3 of the way up. For the roses I took them all off. Including the green pieces directly under the flower.

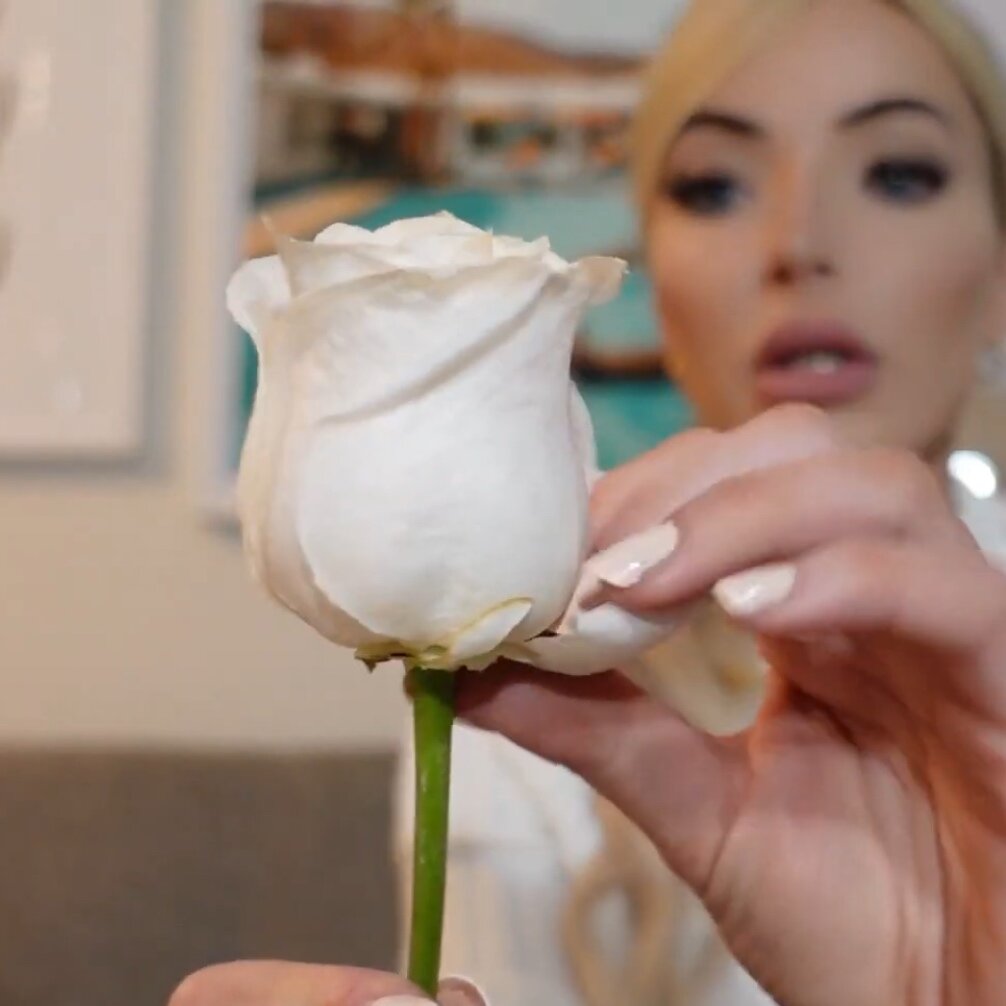

You also want to remove any wilting petals around the outside of the flower.
For the rose look I was going for you have to take off the first set of petals (gently) !

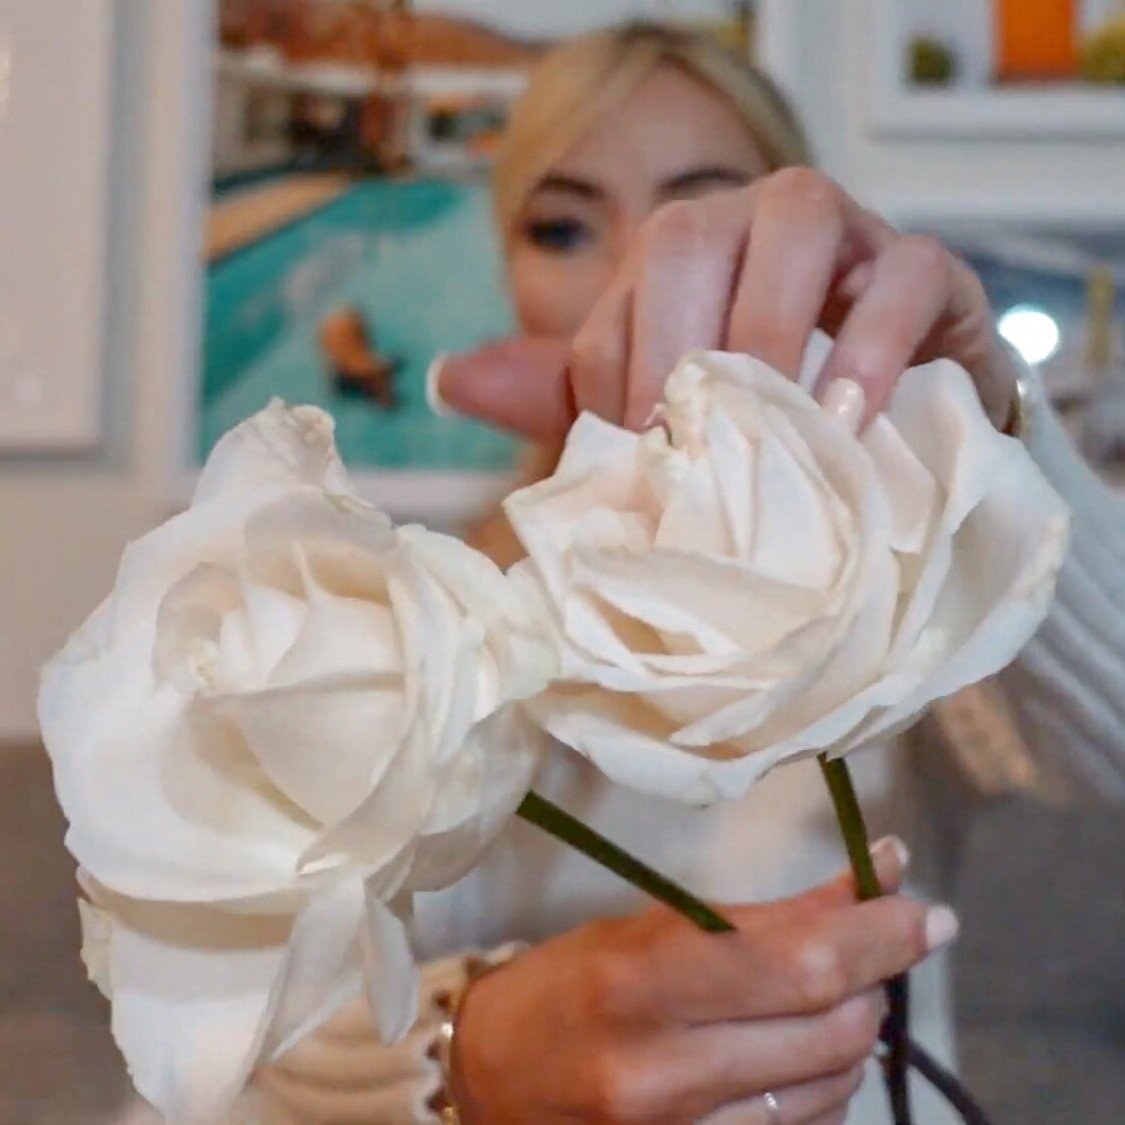

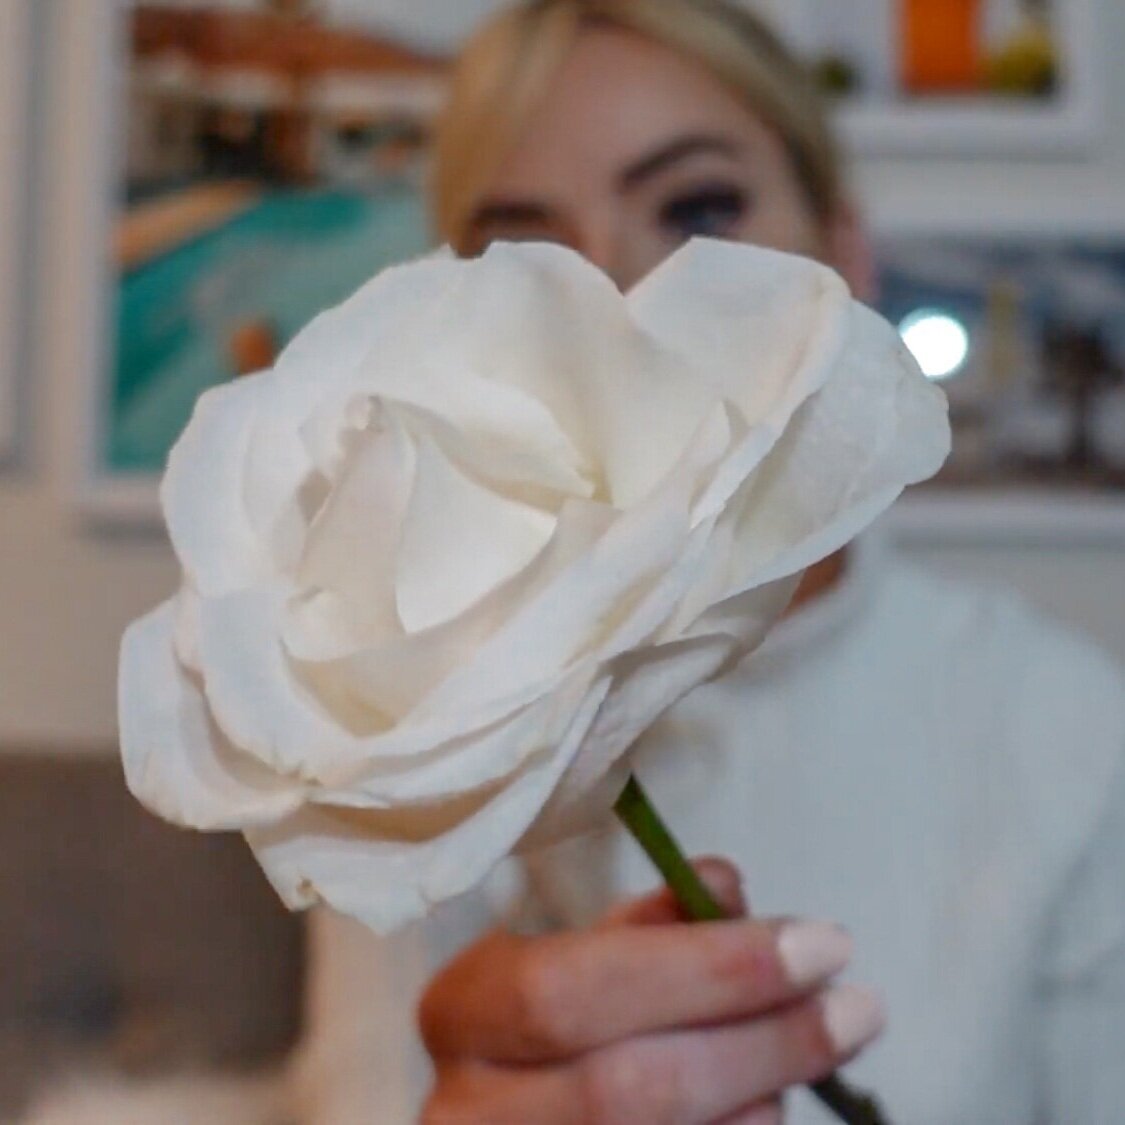
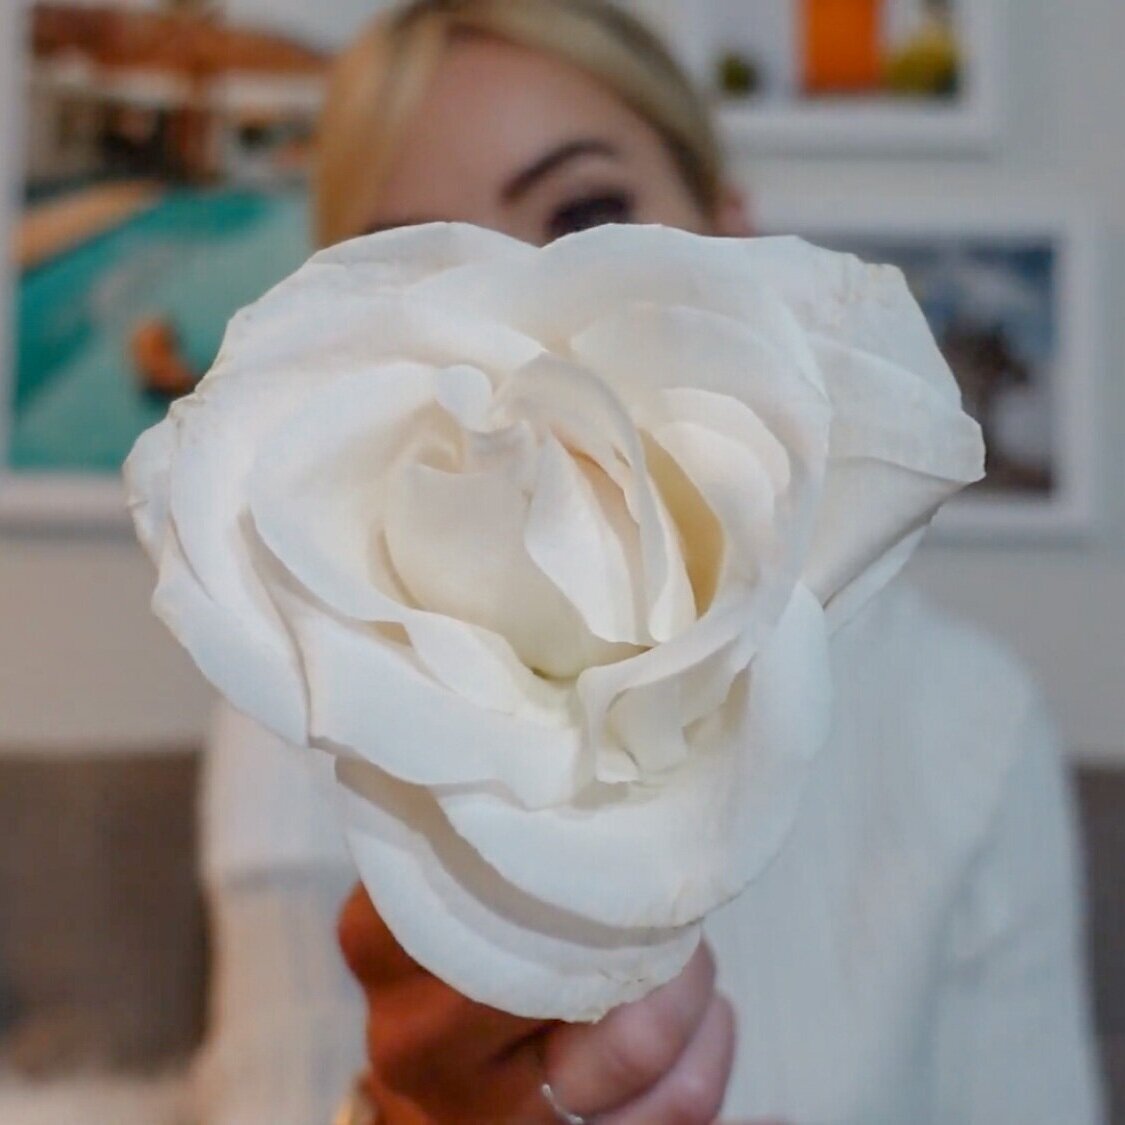
Then again very gently push the petals down staring from the outside until they look bigger and fluffier like in the pictures above.
Putting it All Together

Add the flower food packet and fill your container about 1/3 to 1/2 way full of fresh lukewarm water.
Tip: If you did not get flower food you can add a little sugar (feed the plants) and bleach (to kill off the fungi and keep your water clear)

This is where you use the tape and form a grid pattern across the top of your vase.

The grid pattern helps to separate the flowers and makes the overall arrangement look fuller with less flowers.

Measure your flowers against the height of the vase before you cut them. Trim them a little higher than the actual height at first.

Make sure to cut the flowers stem on an angle.

Arrange your first layer starting with the outside.

Ensure no leaves are touching the water when you place them in your vase. You may have to remove some more leaves or snip the stems again.

If you have some that are too short, put them around the outside of the container.

Once you have all your flowers in the vase you can switch them up, and fluff them until they look aesthetic af :)


The Finished Look


Follow along with my current projects and ideas on Instagram 🤩